1974 Cadet 75
This may be the second 75 we have acquired, but it is also the nicest one out of the two. It is also completely original with the factory motor still in it (and running), unlike the other one. This 75 was bought with the third 85 as a package deal on Craigslist. As far as condition, I would say this is near mint considering how nice the the body is and the fact the original decals are almost all spotless. All the thing needed was a very thorough cleaning to bring out the preserved surfaces as well as a little work on the engine to get it back and running again.
The first obvious task was to get it running again. Like any Briggs motor without spark we pulled the flywheel to replace the points and condenser as well as clean the magnet on the flywheel. After bolting the flywheel on again, the engine had some spark but then faded away. The wires on the coil looked oil soaked and almost melted in spots, so another coil was installed, which fixed the issue. With the engine running on spray, the carburetor needed to be addressed. At one point someone messed around with the carburetor, which was evident by different bolts attaching it to the motor as well as a rigged end plug consisting of a hose clamp and piece of scrap metal. The carburetor was just replaced with another one that was around since the air cleaner screws would not thread into the old one anymore. A rebuild kit was installed in the other carburetor, then bolted onto the motor. After a hooking up the fuel hose and replacing the flywheel tin, the engine was started. Only a little smoke came from the exhaust, but after running for a few minutes, no smoke appeared to come out.
The only other issue that needed attention before driving the rider was the drive belt. While there was one on it, the belt looked it was well over due for a change. At this time we also took off the mowing deck to make it easier to put the new belt on as well as clean the deck up. With the new belt installed and the clutch mechanism bolt tightened, the rider was ready to drive.
On startup the motor barely smoked. The 75 drove like any other rider, although for some reason it was cooler this first time than the others because it was so clean. All gears worked and the motor was tuned nicely, mechanically readying the rider for shows.
The cleaning process started with a nice de-greasing bath of the body and the rest of the exposed top pieces. Even though the body had hardly any scuff marks, it would still look better polish and waxed. I also wanted to wax the body to help protect it and the decals, so this required the usually tedious hand polishing of the body. The only obvious blemishes on the body are a few rust stains in the area the driver puts their feet as well as where the muffler hangs over the body. Otherwise very little heavy polishing needed to be done to prep for an upcoming wax job.
Other areas that were cleaned before body polishing began were the seat and steering column chrome. The seat, which is the original one, looked worst than it actually was:
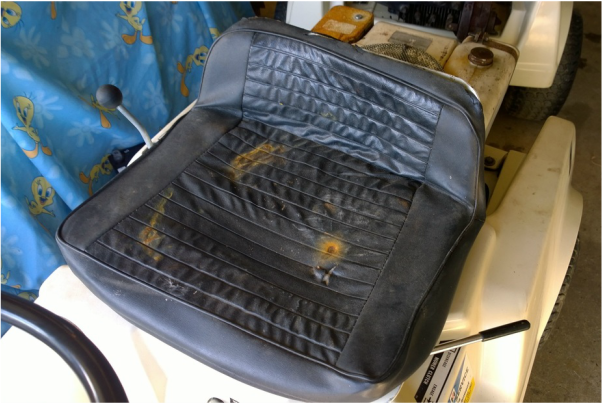
The only tears in the seat were one on the sitting surface and a missing seam on the top of the back support that caused the cushion to slightly separate in that area. The rust spots in the photo cleaned up with simple household cleaner to the point where they can hardly be seen. After the whole seat was free of dirt, a detailing spray was added to shine the seat up and protect it from sun exposure.
The steering column chrome, which looked too rusted to save, ended up cleaning up so nicely it may never need to be re-chromed. Like other chrome pieces I have cleaned, I used a simple method of steel wool with rubbing compound in it. When I get a chance I will show this method, which gives beautiful results for old chrome, in the How To section. Before starting the area looked like this:
The steering column chrome, which looked too rusted to save, ended up cleaning up so nicely it may never need to be re-chromed. Like other chrome pieces I have cleaned, I used a simple method of steel wool with rubbing compound in it. When I get a chance I will show this method, which gives beautiful results for old chrome, in the How To section. Before starting the area looked like this:
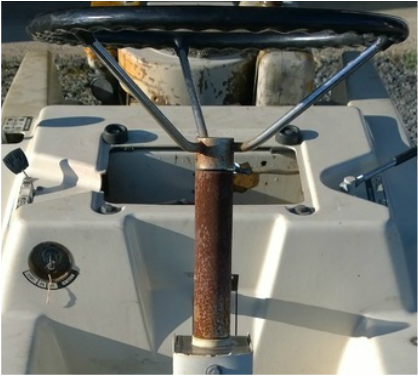
Even though none of it looked salvageable, I still tried to see if the little areas on the column that looked like chrome would come out. In the end the entire part came out looking amazing, with not even the tiniest spot of rust or pitting left. While the chrome is not as reflective as it once was, it is still there and made a huge difference in the overall appearance. Here is an image after I started the process, where the chrome in the picture previously looked like the rusted areas:

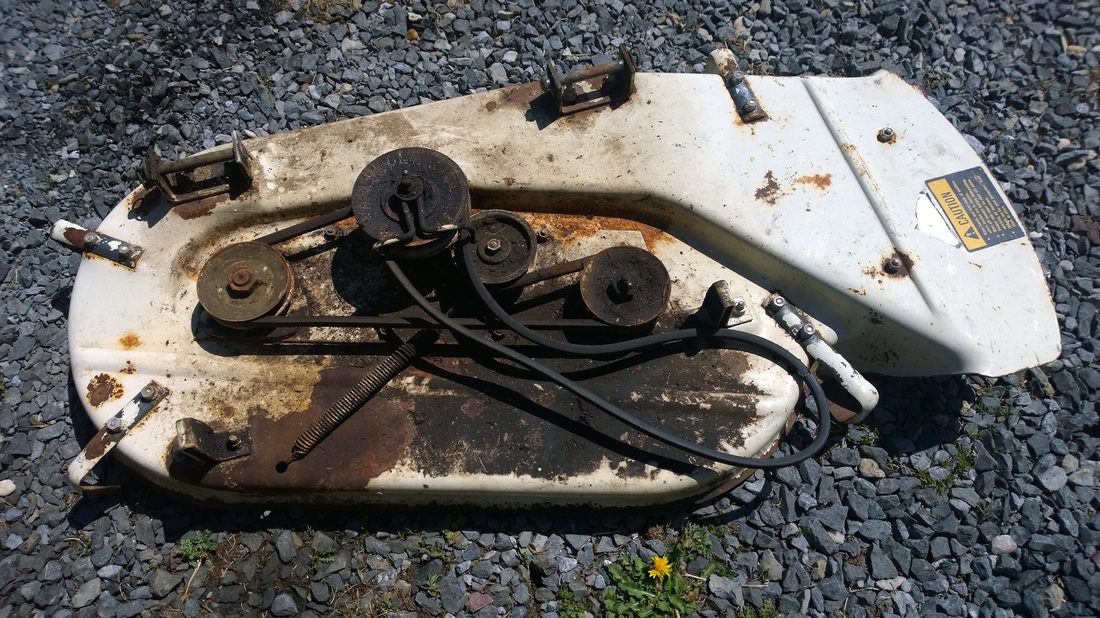
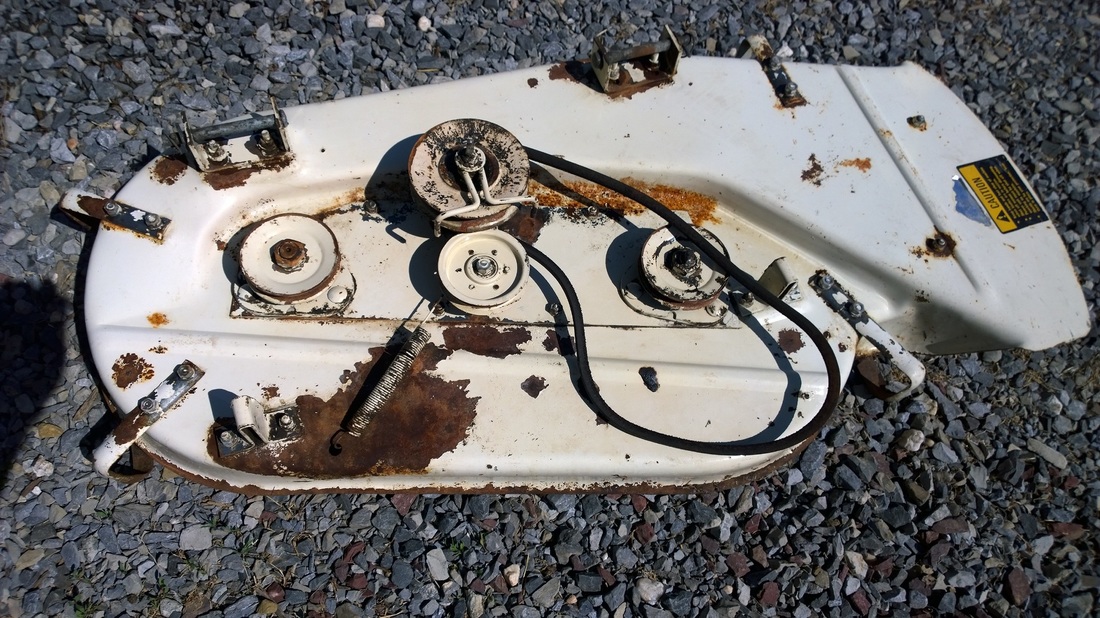
The only other piece of the rider almost fully cleaned so far is the mower deck. All it needed to look nice on the topside was a wash with de-greaser. Before and after photos are below:
|
|
All that the deck needs now is a good scraping underneath to remove the old grass to prevent rotting. It is nice enough to put back on the 75 when it is show time.
As the cleanup continues I will update this page.
As the cleanup continues I will update this page.
